Creating a curved scroll view with Jetpack Compose
I was recently working on an app, that still uses the established Android View system, where one view in particular was not all that trivial to implement. My first approach was using a RecyclerView with a custom LayoutManager, but after it failed to perform as desired I have made it into a completely custom View, who rendered text on canvas, but lost the ability to use different ViewHolders.
I have been looking at Jetpack Compose for a while now, and loved the way it handles the UI, but was somewhat skeptical at first on what custom layouts might look like. Well, as it turns out, despite not having worked all that much with it, the implementation of that same view took less time and seemed to be less difficult (although, keep in mind, I’ve already had to do it with a RecyclerView and manual drawing on Canvas).
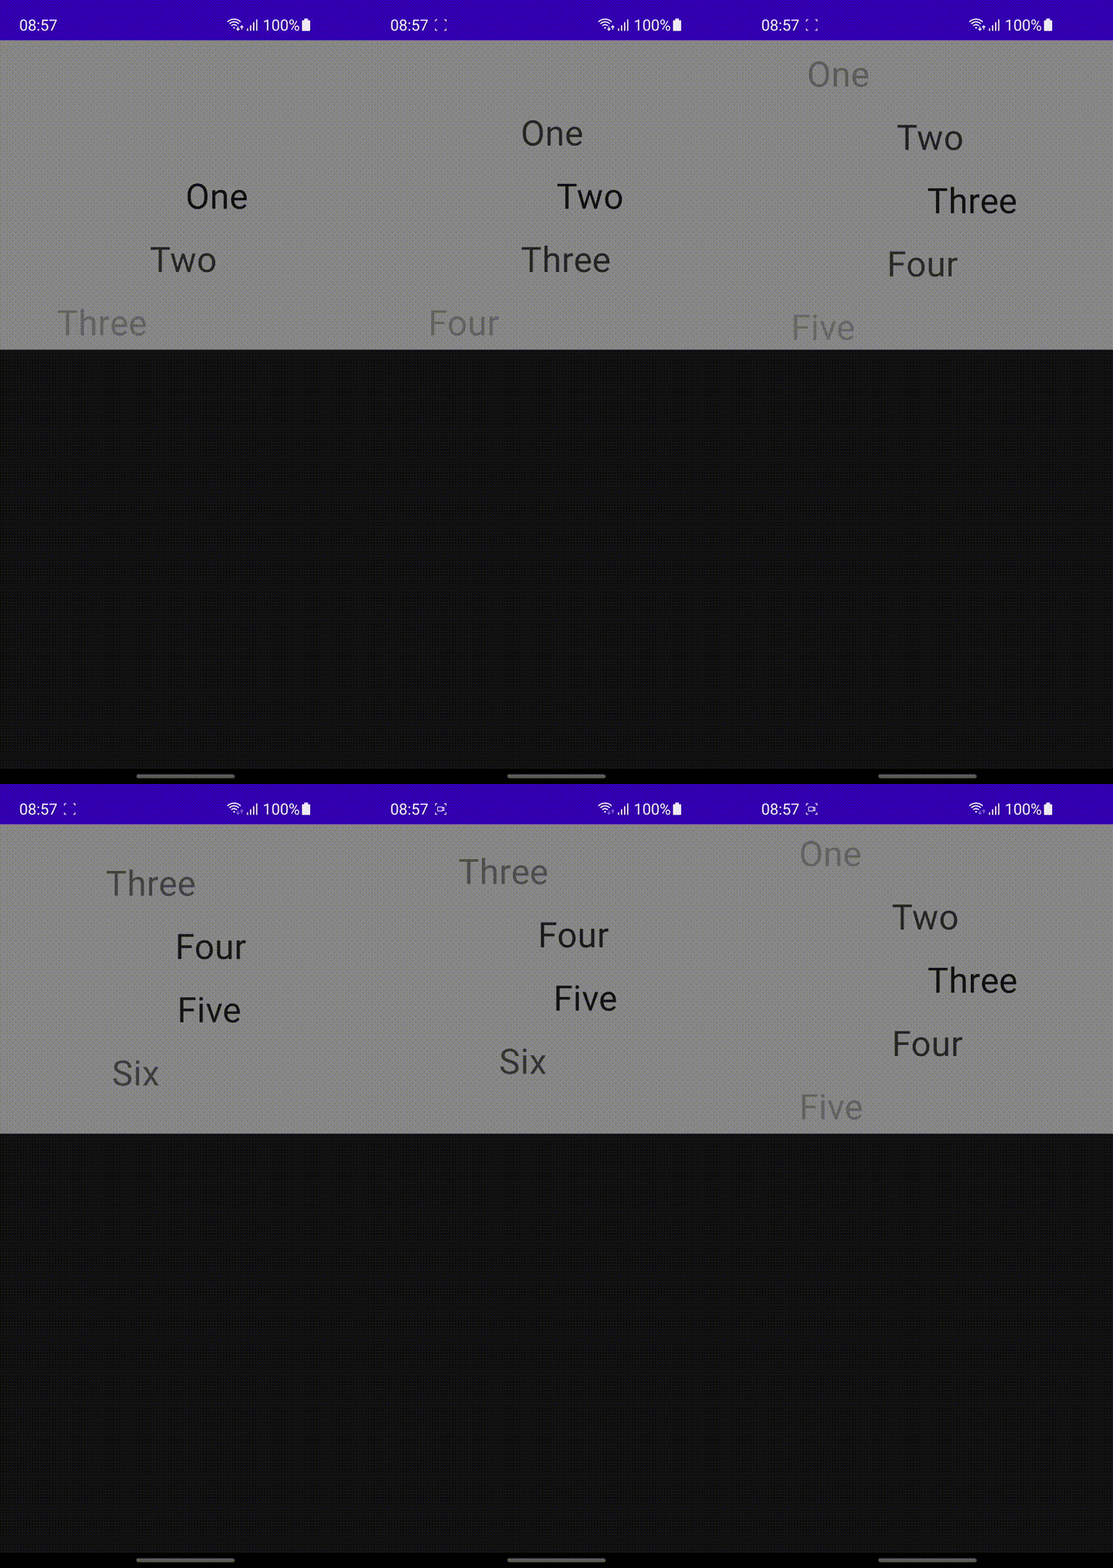
Without further ado, here’s what the view looks like:

The full code is available here.
Disclaimer: I am new to compose, I do not claim this is the simplest way to do it, nor the best, but this is how I did it. I’d be happy to take comments on how to better go about implementing this.
Now, for starters, I’ve read up on custom layouts, specifically, here. I’ve started with the basic sample, implementing what is essentially a column:
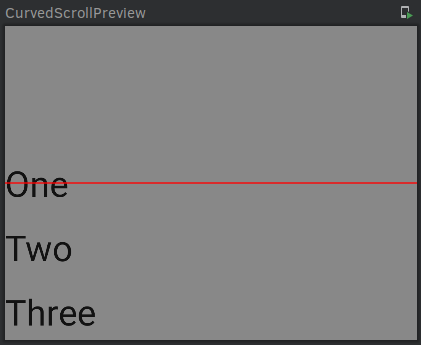
Here’s what that looks like:

Next step was adding the spacing between the items, for sake of simplicity I used hardcoded value of 16dp, but it’s trivial to adapt it to a parameter, however that caused some of the items to appear outside of the view (as they should, it’s a scrollable view after all). This resulted in the following piece of code:
So the view is now scrollable, and has the items in it, but they still start at the top of the view, rather than the first item being vertically centered. Additionally, you can also scroll past the end. In order to fix these issues, I wrapped the Layout in a Box and used the “onSizeChanged” modifier on it, to retrieve the size, then calculated the height and the placement of the first item:
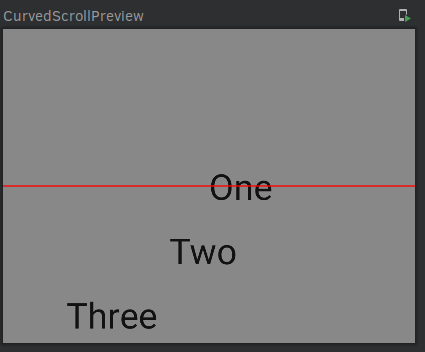
The preview is starting to look more like it:

Next part was making the items move to the right, based on current scroll position. I have used a cosine function for this, but one might as well use something else. To get the value of interpolation I used the difference between current scroll ratio and the ratio at which the item appears. This produced the following:

The next item on my list was snapping. This was a bit more difficult, as I was/am used to scroll listeners, somebody on KotlinLang Slack recommended using nestedScroll modifier, but I found it easier to use FlingBehavior.
FlingBehavior, specifically performFling was called after the user finished scrolling, and looked like the perfect place to trigger a snap. The snap itself was easy to accomplish, as all I needed to do was call animateScrollTo(position) on the scrollState that I already had. It was a bit more work to figure out the position that we needed to scroll to, but since we handle placing we know exactly where each item is! All in all this is surprisingly low amount of effort required:
Note that in the performFling function, when calling “animateToScroll” we could also get the index of the item we’re snapping to, and report it upwards to handle “item selection”.
Which brings us 99% of the way there, I wanted the items that weren’t close to the “selected” one to be a bit transparent. I struggled with this at first, trying to wrap individual items and setting their alphas, calculating them similar to the indices, but alas one of the members of KotlinLang Slack suggested Placeable.placeWithLayer() to me, which perfectly solved my last issue, I just replaced placeRelative with the following and I was done:
Overall I believed this would prove to be much more difficult, but was pleasantly surprised. I would once again like to thank the great people at KotlinLang slack for help, advice and pointers.